
Audio input
AudioSlice uses only raw audio as an input. No ProDJ link, Ableton Link, or click track necessary.
It will need to be clean audio from an application on your computer or from an audio interface, though. Microphone input won't quite cut it yet (give us until our next model 😃).
But whether you are using audio from Spotify, VLC, iTunes, Rekordbox, Ableton, or a browser tab, the AudioSlice experience is easy to route on both Mac OS X and Windows.
Gain staging
In general, try to turn up your source audio as high as you can.
AudioSlice has an automatic gain control (AGC) to keep the audio's gain in the happy spot for the model, and the AGC can always turn the audio down. But if the source audio is too quiet, bit depth is not on your side. This could affect model performance.
We recommend both keeping our AGC on as well as our sidechaining corrector on, which are the defaults:
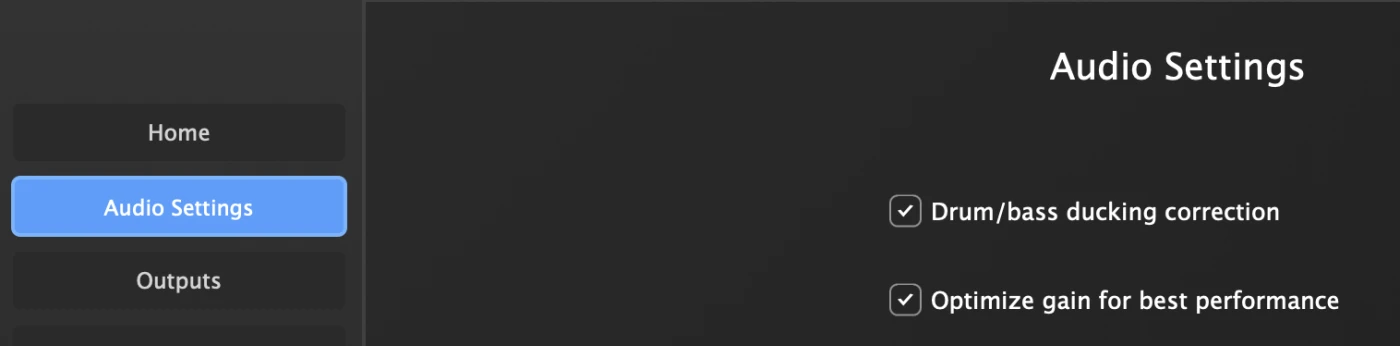
Capturing system audio (macOS)
macOS has no built-in way to send one app's output into another, so you need a virtual audio device. Any of these work:
- BlackHole: free, open source, 2ch or 16ch.
- Loopback (Rogue Amoeba): paid, with a UI for routing and monitoring.
We recommend and love Blackhole.
The catch: send audio to the virtual device and you stop hearing it. Fix that with a Multi-Output Device.
Setting up a multi-output device
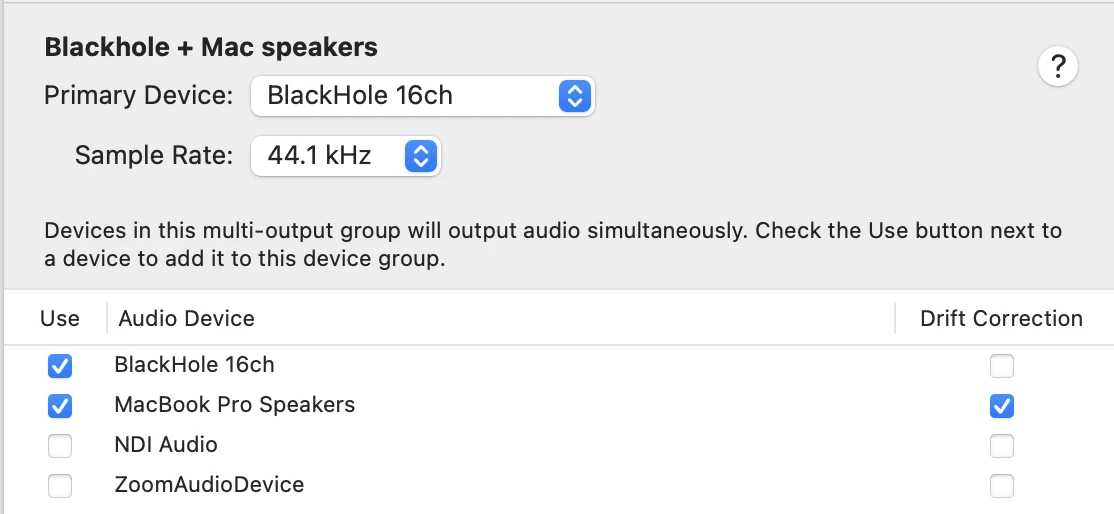
So that both you and AudioSlice can hear the music at the same time, you'll need a Multi-Output Device. On macOS, open up Audio MIDI Setup.
Audio MIDI Setup- Click
"+"icon at bottom left, selectCreate Multi-Output Device - Check the outputs you want (ie: Blackhole and your laptop speakers)
- Keep sample rate at 44.1kHz, drift correction doesn't matter
- Rename your new multi-output device something legible
macOS settings>Sound>Output & input>Output >Blackhole> slide the volume all the way up
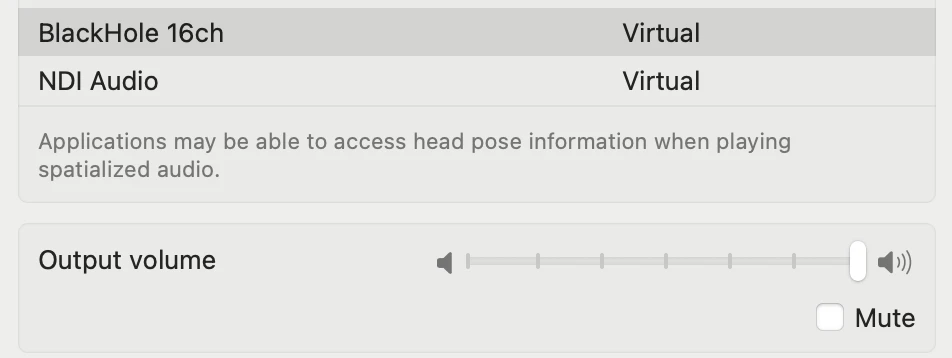
Now play some music, and it should be output both to your speakers AND to Blackhole or Amoeba Loopback.
Once you have this set up, open up AudioSlice and go to Audio Settings
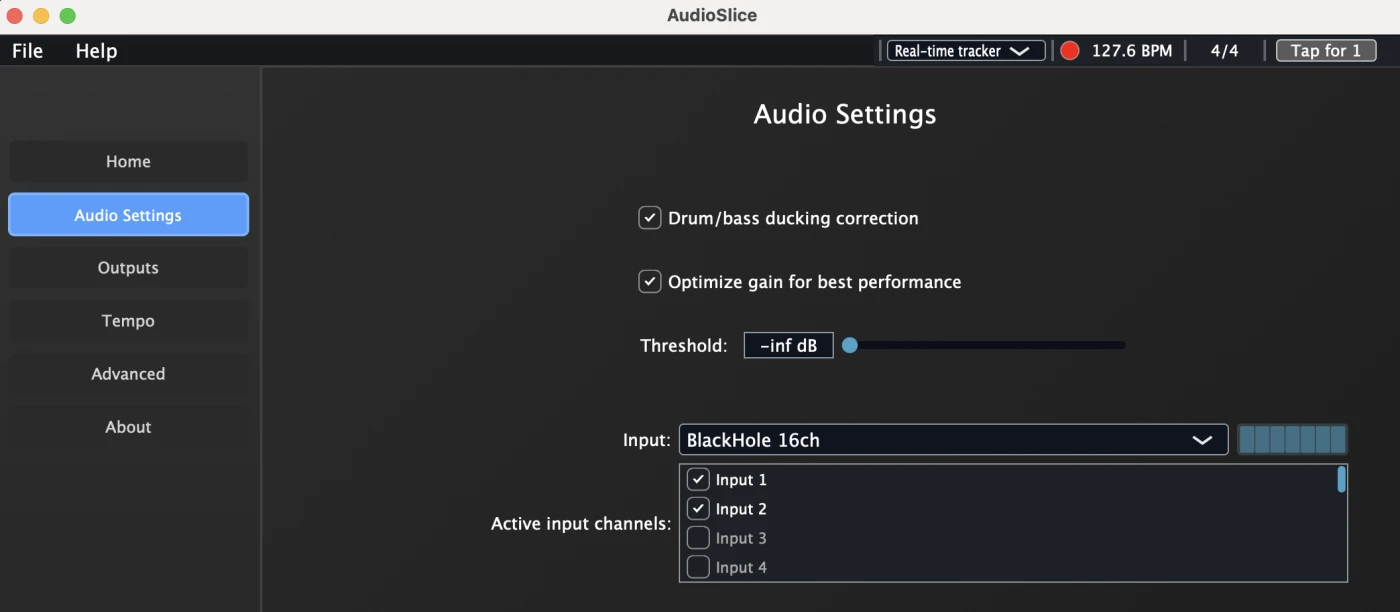
and then choose your new output device:
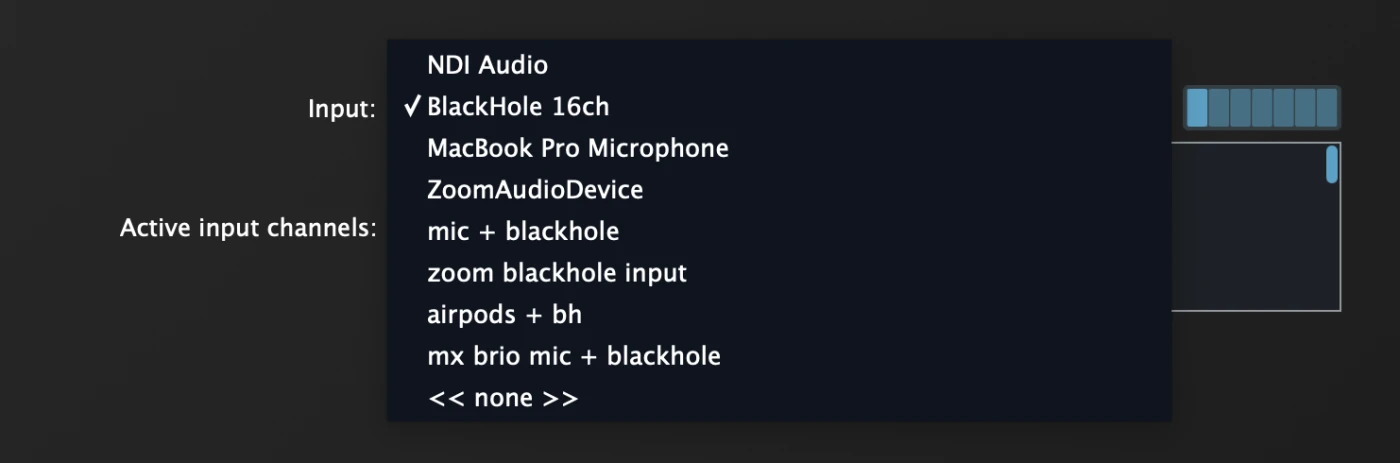
Once this is done, play some music, and you should be able to see volume both right next to the input device
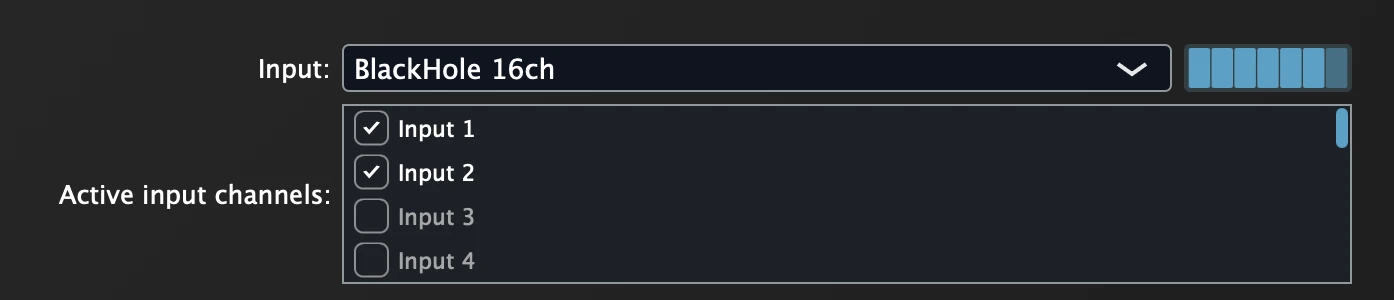
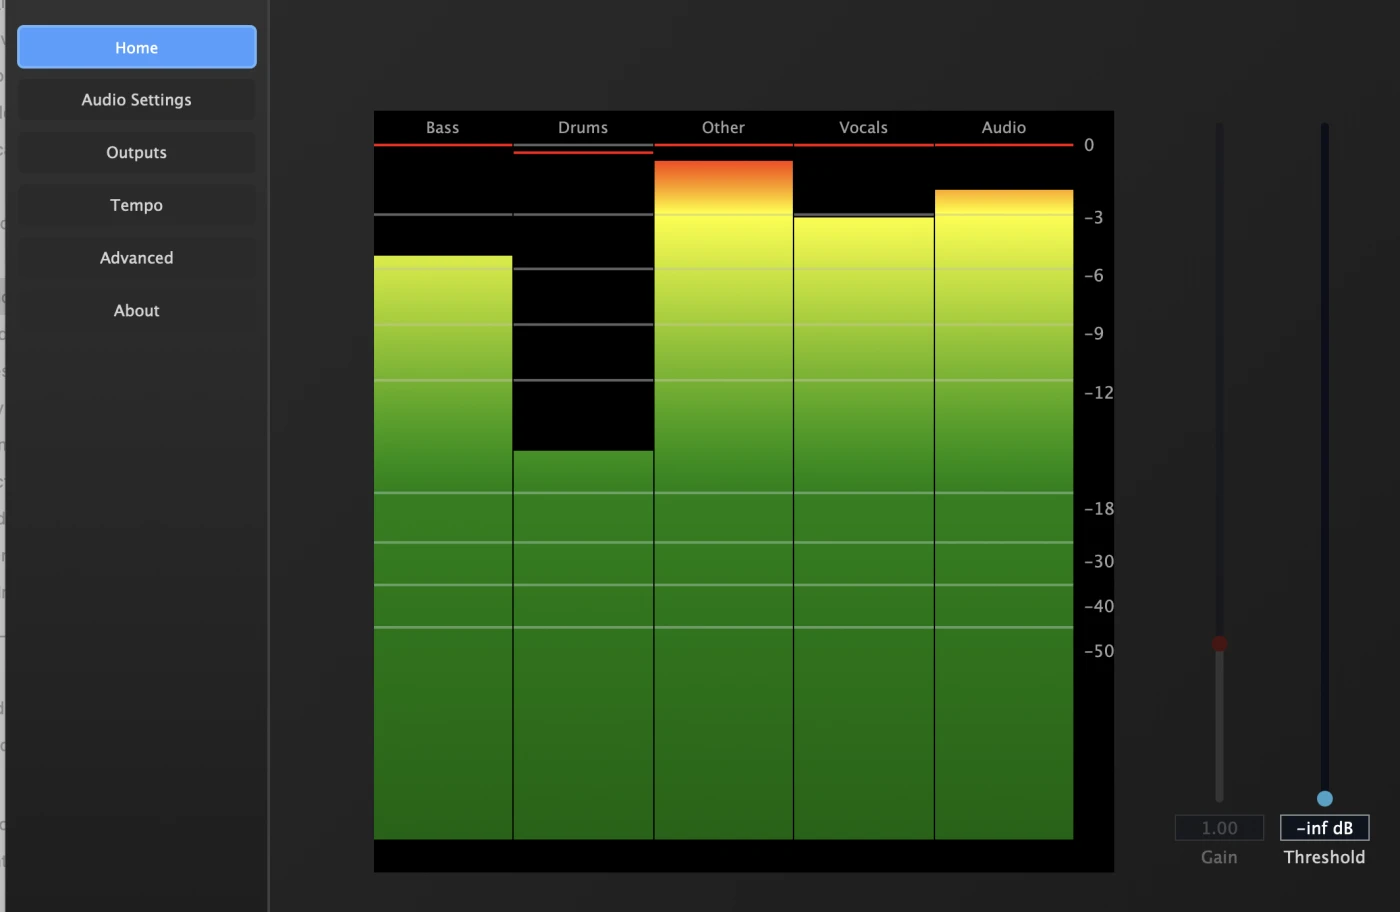
as well as in the Home view of the app:
Capturing system audio (Windows)
We are beyond proud that for routing audio on Windows, you only need AudioSlice.
You DO NOT need VB-Audio Cable or Voicemeeter Banana!
AudioSlice on Windows will automatically detect via loopback which of your devices in outputting audio. And if it gets it wrong, you can just select a new one using the audio input selector dropdown in Audio Settings.
It's that easy!